Transcription Audio
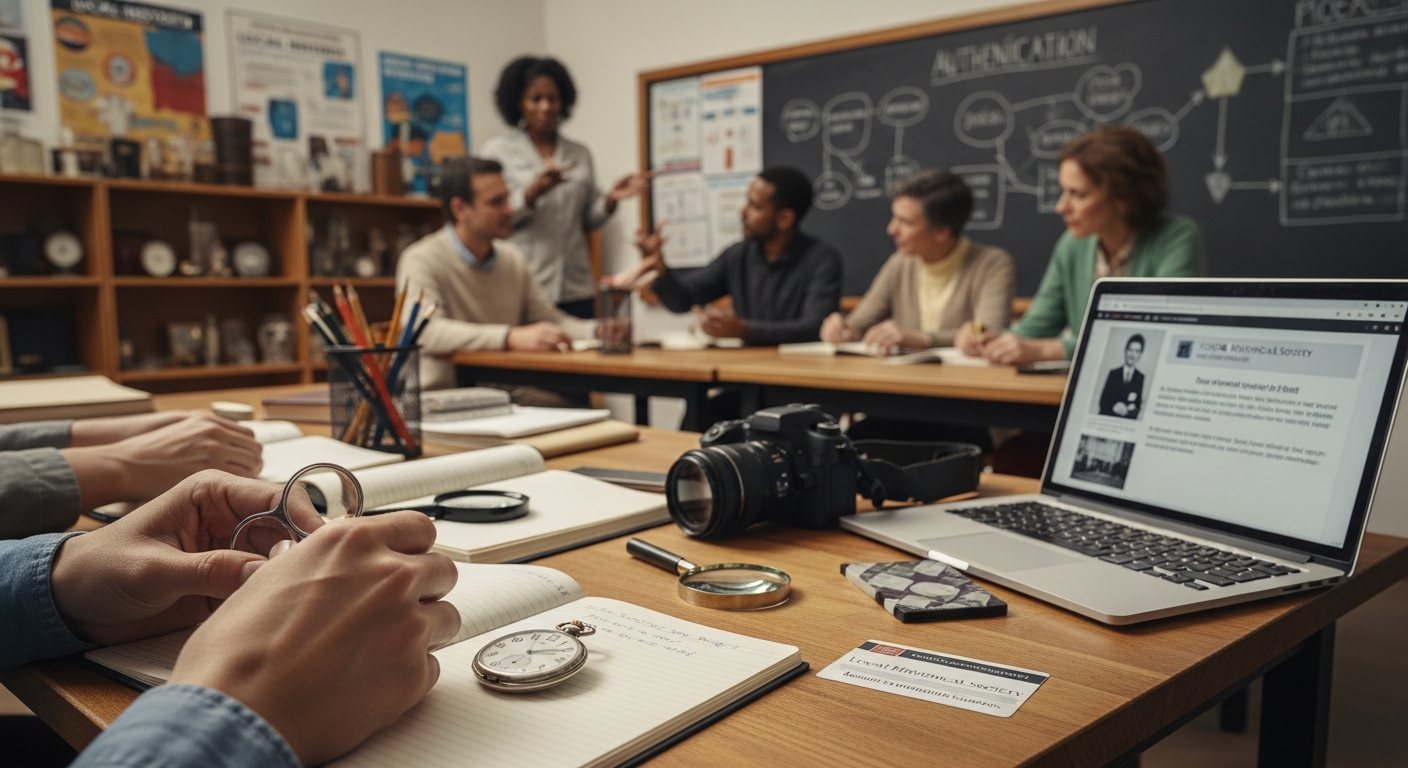
How to Authenticate Local Historical Artifacts (U.S.): A Definitive, Doable Guide for Educators and Community Historians
13 novembre 2025
Transcript Text
Hello and welcome. Today we’re turning attic mysteries and classroom curiosities into real, trustworthy history—without blowing your budget or your timeline. If you teach U.S. local history or care for a community collection, this is your roadmap for authenticating artifacts in a way that’s doable, ethical, and honestly, pretty fun. What do we mean by authenticating? Three questions, like the legs of a sturdy stool: What is it? How old is it? And is the story true? We answer with three kinds of evidence: the paper trail and oral histories, what the thing is made of and how it was made, and the judgment of knowledgeable peers. Picture a pyramid: the base is local knowledge and documentation; only at the top do you add specialized science. Here’s the surprise: even at the Smithsonian, most decisions rely on documents and comparisons, not lab tests. Your library card and your town’s archives are power tools. Before the detective work, one crucial step: intake and stabilization. The first day with a new object matters more than the next ten years. More evidence is lost in the first 24 hours than in decades of storage because we forget to document—or we clean something we shouldn’t. So slow down. Get a quick story from the person who brought it in, then document the daylights out of it. Take clear photos from every angle—maker’s marks, seams, and odd details included. Give it a simple ID number so the story stays with the object. Wear nitrile gloves to keep skin oils off. If it smells like pesticides or has feathers or taxidermy, park it in a sealed container until you can assess it. People used arsenic and mercury far longer than you think. And please, resist the urge to clean. I once watched a “smudge” on a Civil War-era photo almost get wiped away—it was the studio stamp, our smoking gun for when and where it was made. Now, the heart of the process: build the provenance timeline. Start with the story, uninterrupted. Let the donor talk; you’ll catch names, places, and anchor points that vanish if you pepper them with questions too soon. Then gently ask for the sequence of ownership, where the item lived, any photos or papers showing it in use, and who else can vouch for parts of the story. After that, verify. Local records are your superpower. Search newspapers for people and places, not just the object. City directories and Sanborn Fire Insurance Maps show what used to be where and when. County deeds and tax records tie families to addresses. School board minutes, PTA records, and church registers confirm bells, ledgers, plaques—everything that accumulates in communities. Your goal: anchor three moments in the object’s life. When you can tie it to just three specific events—say, the purchase date, a photo of it in use, and a documented transfer—your case gets dramatically stronger, often stronger than any lab test you could afford. A quick example. A town brings in a brass bell they swear came from their 1890 schoolhouse. We don’t start by testing the metal. We pull school board minutes and find a note from 1896 approving funds for a bell. Sanborn maps from 1895 show a new belfry added to the school. Then we spot a 1902 newspaper photo of a parade with the school’s bell, and the caption names the school. Now we’ve got a tight three-point timeline. The story, the documents, and the object are humming the same tune. Next, the hands-on check: does the object make sense for the time and place? Think “technological system.” A “1920s radio” with a transistor inside? Transistors appear in the late 1940s. A “Civil War diary” written in ballpoint? Ballpoints don’t hit the mass market until around 1950. Hardware can be a tell: Phillips-head screws signal the 1930s or later, so they’re red flags in supposed 19th-century pieces. Fabrics, stitching, adhesives, plastics—all have timelines. You don’t need a lab to spot most of this. Use a magnifying glass, good light, and comparison photos. Look for the human story in the wear. Handles polish where hands gripped. Tools wear where they were used. Repairs tell you how people valued the object. A careful quilt patch or an old fix on a farm tool can be as authentic as any stamp, because they speak to real use in real life. What if the story and the materials don’t match? Or if the stakes are high—significant monetary value or cultural sensitivity? That’s when you escalate, carefully. Call in a peer or a specialist. Your state museum, a regional conservator, or a nearby university lab can help choose just the test that answers your question—no more. Maybe you need fiber identification for a textile, or non-destructive metal analysis for a bell’s alloy. The point isn’t to carpet-bomb the object with tests; it’s to resolve a specific uncertainty with the least risk and cost. We also have to talk about ethics and law, because doing right by people is part of doing good history. If you suspect an item is Native American human remains, funerary items, or a sacred object, stop and consult tribes through proper channels. Respectful repatriation is the goal. Beyond that, think about the public trust. Avoid buying artifacts with vague or dubious origins. If a story leans on “it came from an old trunk from somewhere out West,” and there’s no trail, be honest about that. Capture oral histories with consent and cite them like sources, not rumors. When you exhibit or teach with the item, tell the detective story openly—what you know, what you think, and what you’re still investigating. People trust you more when you show your work. Teachers, here’s a way to start tomorrow. Build a simple intake kit: nitrile gloves, a white poster board for photos, a couple of Tyvek or acid-free tags with string, and a phone camera. Choose one object—just one—and build a three-point timeline together. Split the class: one group records the oral history, one digs into digitized newspapers, another checks city directories or yearbooks, and a fourth does the close physical look. Then reconvene and triangulate. Students light up when their evidence clicks into place. Community historians, this scales up nicely. Recruit a buddy at the public library. Most of what you need is free or nearly free. And don’t underestimate the retired teacher who knows every name in the yearbook or the old-timer who can tell you which bell the town used on parade day. This isn’t just about facts; it’s about relationships. When you involve people in the process, you preserve history and deepen community pride. A few red flags to keep you out of trouble. Be cautious with stories that feel too perfect but come with no documents—especially when the object looks brand-new for its supposed age. Watch for anachronistic materials: modern screws, plastics that didn’t exist yet, or machine stitching where hand stitching should be. Be wary of strong chemical smells in textiles and taxidermy. And always document before you do anything else. If the only thing you do this week is assign a simple ID number and take clear photos, you’ve already improved the integrity of your collection. Let’s circle back to why this works. Authenticating isn’t about catching people in lies; it’s about listening carefully and letting multiple sources sing harmony. Think of triangulation like calling three friends who went to the same event. If each tells a slightly different story that still adds up, you feel confident. When one says it rained and the others say it was a sunny parade, you pause and check the weather report. That’s your lab test. You only call it when the conversation needs it. And the payoff is huge. Good provenance doesn’t just add value—it multiplies it, historically and educationally. A well-documented object teaches students how to ask questions, weigh sources, and change their minds when the evidence leads somewhere new. That’s the skill we want them to carry into everything else. So here’s your quick-start challenge. First, set up that intake habit: photos, ID number, light touch. Second, pick one object and build a three-point timeline using a mix of oral history and local records. Third, share the story of your process when you present the artifact. Do those three things, and you’ll be operating at the level of much larger institutions, with the resources you already have. If you’re hungry for the nitty-gritty—how to photograph maker’s marks, where to find digitized city directories, when to call a conservator—that’s in the written guide, along with tips on digitizing local records and involving your community in ways that honor their stories. You’ve got this. Whether you’re in a fourth-grade classroom or a county archives room that smells like paper and possibility, the same method applies. Start with the story, steady your hands, follow the paper trail, check the object, and invite others to weigh in. Do that, and even the dustiest attic find can become a reliable witness to your community’s past.